
Help your readers who are visual learners by capturing the actions you describe in your tutorials by recording your screen and your voice.
Before recording
A. First, think about the few things that your viewers want to watch instead of the many things that you can teach them so that you can plan the focus of your tutorial. Don’t cram too much info into one tutorial. Pick one or two topics to cover to keep the screencast brief — ideally, under 2 minutes.
B. Next, practice reciting your script. Draft your talking points and run through them a few times beforehand so that you figure out any part of your lesson that trips you up. Try reading your script aloud to a colleague for feedback on simplicity and clarity.
C. Lastly, run through all the choices and clicks that you’ll make on-screen so that you don’t fumble around while recording. This can cause viewers to tune out prematurely. Get familiar with QuickTime’s tools and put the files that you’ll need into locations that you’ll find easily once you’re rolling. Also, if feasible, attach a better mic than the computer’s default mic.
Setup recorder
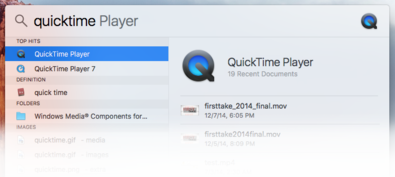
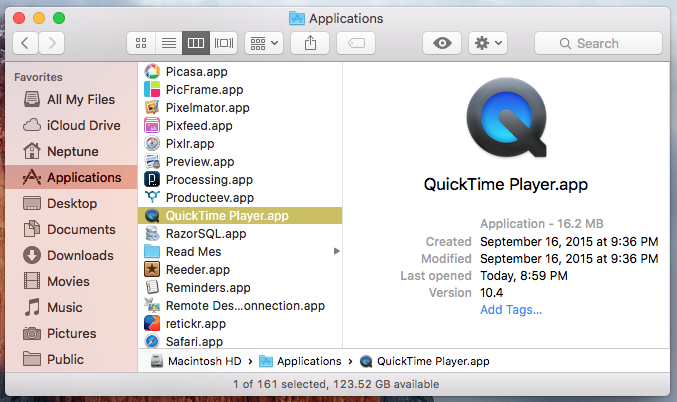
Locate the Quicktime Player app on your system, either by conducting a Spotlight search (CMD+SPC) or by browsing to your Finder’s Applications directory.
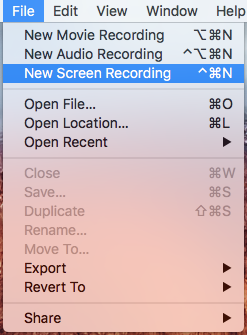
Click the FILE menu and choose New Screen Recording
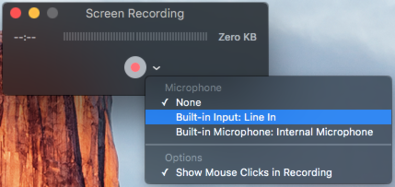
In the screen recording window, click the down arrow to view control options for audio source and mouse click animation.

Click the red Record button to see how to measure a recording zone and to stop the capture (by either clicking the Stop Recording button in the menu bar or by pressing CTRL+CMD+ESC).
To record…
- Click the red Start Recording button (a controller now appears in the top right menu bar).
- Run through your steps and your narration on the screen and over the mic.
- Click the Stop Recording button (or press CTRL+CMD+ESC).
After recording
Once QuickTime opens the new movie file of your captured actions, click the Play button to review it.
Click the WINDOW menu and choose Show Movie Inspector to view details about how the movie was recorded, its codec, etc..
To trim the recording, click the EDIT menu and choose Trim.
- In the frames bar, drag the handles on either ends to adjust start and finish points.
- Click the TRIM button to complete the action, then save the edited file.